Starting First Row Of Vinyl Siding

13 Simple Vinyl Siding Installation Tips Vinyl Siding Installation Vinyl Siding Installing Siding

Kaycan Vinyl Siding Installation Tips Overlapping Youtube

13 Simple Vinyl Siding Installation Tips Vinyl Siding Installation Installing Siding Vinyl Siding

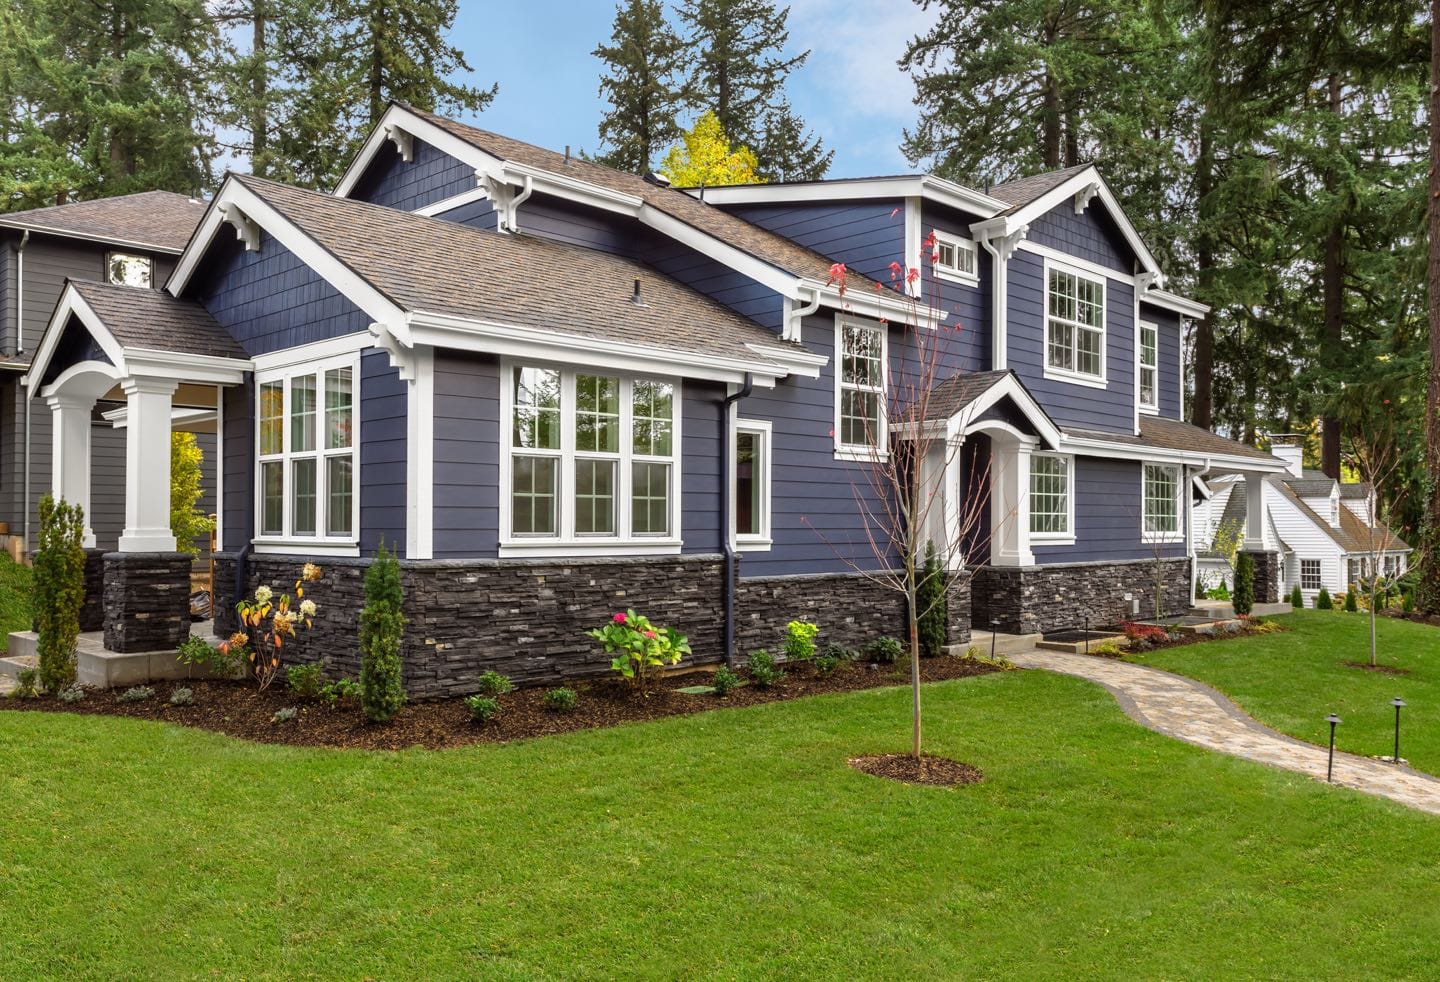
Dark Brown Siding With Tan Trim House Colors Exterior House Colors House Exterior

Tips On Installing Vinyl Siding Diy

13 Simple Vinyl Siding Installation Tips Installing Siding Vinyl Siding Installation Vinyl Siding

Snap a line 1 in.
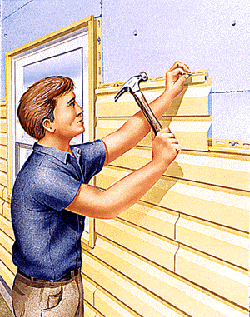
Starting first row of vinyl siding. The bottom of the starter strip the part the bottom panel hooks on to should be at least 1 in. As its name implies a starter strip is one of the initial steps during the installation of vinyl siding. For the remaining vinyl siding panels to be installed correct and level beginning with the lowest row you must install the starter strip correctly. It will be made of aluminum and it usually comes about 3 inches in width and 12 feet long.
You attach the bottom of the first row of siding to the top of this starter strip. Attach j channel trim strips around windows and doors and along the eaves. Vinyl siding starter strips snap a level chalk line for the first starter strip at the base of the wall no less than 8 inches above ground level after determining the lowest corner of the house. Lock the first row of siding under the starter strip and nail it in place.
Below the top of the foundation but the lower the vinyl siding is installed the better. Nail vertical vinyl corners to the corners of the house making sure they are plumb. Install these fragile starter strips with a 15 gauge trim gun. Slide the bottom row of panels into place making sure to hook the bottom lip of each panel under the starting strip.
From the top of this row and stretch a string line across the deck. The first piece of vinyl you re going to hang is on the starter strip. This is our most comprehensive. This chalk line should be level and a consistent distance from the eaves or the top and bottom of the windows.
We cover how to move doors and windows and create a weather proof exterior. Staret strip secures the first course of siding to the home. Begin by installing the first row of siding on both sides of the deck. This video shows how to install a starter strip for vinyl and polymer siding installation.
It is important to check your level every four or five courses by putting a level on the siding. To provide a common reference point measure up 8 in. It protects the sheathing from rain snow and pests. Secure the panels with a nail every 16 inches 40 6 cm or so remembering to center the nail in slot and leave 1 16 of the nail head above the vinyl siding to allow for movement and expansion.
Find your most beat up pieces of siding and rip them down into 1 1 4 in. Not just another vinyl siding installation video. Above the bottom of the wall sheathing as a guide.

How To Replace A Vinyl Siding Corner Youtube

How To Replace One Piece Of Vinyl Siding Mid Wall Youtube

How To Install Vinyl Siding In 21 Steps Siding Authority

How To Install Vinyl Siding Youtube

Pin By Distinguished Boards And Beams On Home Rustic Lap Siding Installing Siding Installing Wood Siding

Vinyl Siding Installation Getting Started 2018 Youtube

Vsi Best Practices Finishing At The Top Of The Wall Youtube

Kaycan Vinyl Siding Timberlake Ivory White Siding White Trims Light Trims Grey Stone Stone Around Vinyl Siding White Siding White House Black Shutters
How To Install Vinyl Siding In 23 Steps Tips On Vinyl Siding Installation

James Hardie Instructions Siding Installation Lowes Com Videos Installing Posts And Panels Vinyl Fence Installat Vinyl Siding Installing Siding Siding Repair
Installing Certainteed Vinyl Siding Accessories Youtube
Vinyl Siding Installation Tips And Tricks Modernize

Gable Soffit And Fascia Vinyl Siding Installation Installing Siding Vinyl Soffit

